

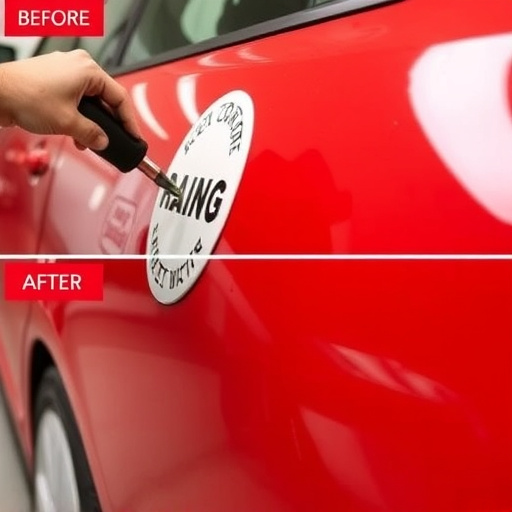


Quarter panel dent repair is a common car issue, ranging from minor indentations to structural deformities. While severe damage requires professional body shop intervention, smaller dents can be addressed DIY with specialized tools like putty knives, dent pullers, automotive body filler, sandpaper, and protective gear. The process involves careful planning, assessment, gathering materials, surface preparation, dent removal (based on size and depth), smoothing, filling, sanding, priming, painting, and finishing. Complex jobs on luxury vehicles may need professional guidance.
Are you considering repairing a quarter panel dent yourself? This comprehensive guide is your starting point. Learn how to assess and understand quarter panel dent damage, gather the right tools and materials for a DIY repair, and follow a step-by-step process for successful restoration. By mastering these techniques, you can save money and ensure a flawless finish.
- Understanding Quarter Panel Dent Damage
- Tools and Materials for DIY Repair
- Step-by-Step Guide to Successful Restoration
Understanding Quarter Panel Dent Damage
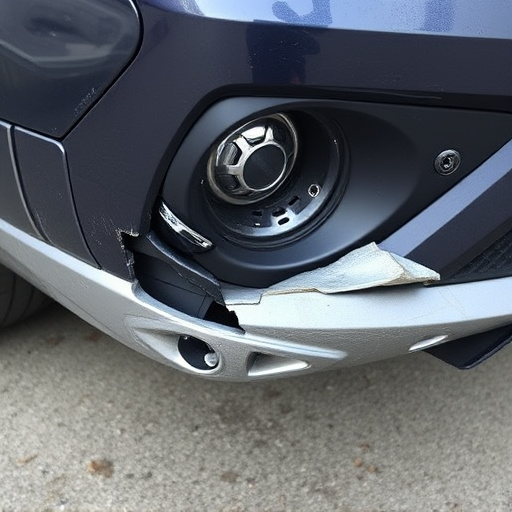
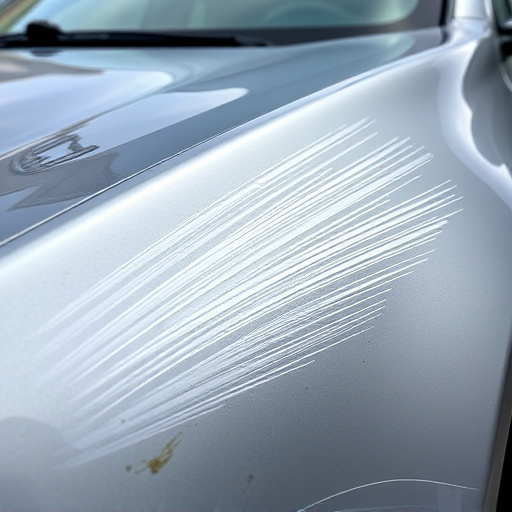
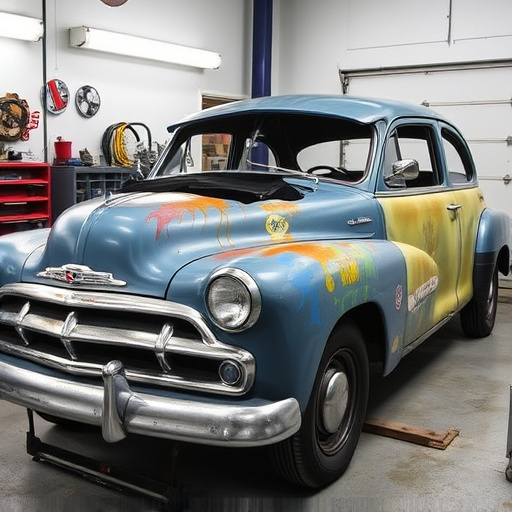
Quarter panel dent repair is a common concern for many vehicle owners, as these areas are particularly vulnerable to damage due to their location and exposure. A quarter panel, also known as a fender or side panel, can sustain dents from various incidents like parking mishaps, road debris, or collisions. These dents can range from minor indentations to severe deformities, affecting the overall appearance and structural integrity of the vehicle.
When assessing quarter panel dent damage, it’s crucial to consider both cosmetic and functional aspects. While some dents might only mar the surface, others could compromise the panel’s ability to protect the underbody and vital components like brake lines or exhaust systems. In severe cases, professional intervention through an automotive body shop may be necessary for proper collision damage repair, ensuring the vehicle is restored to its pre-accident condition. However, minor to moderate dents can often be addressed through DIY methods, utilizing specialized tools and techniques for effective quarter panel dent repair.
Tools and Materials for DIY Repair

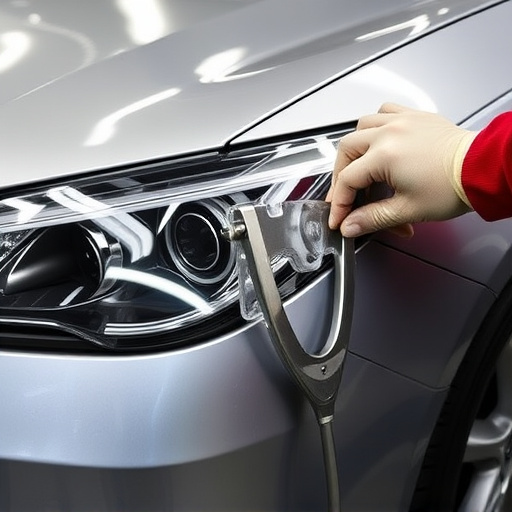
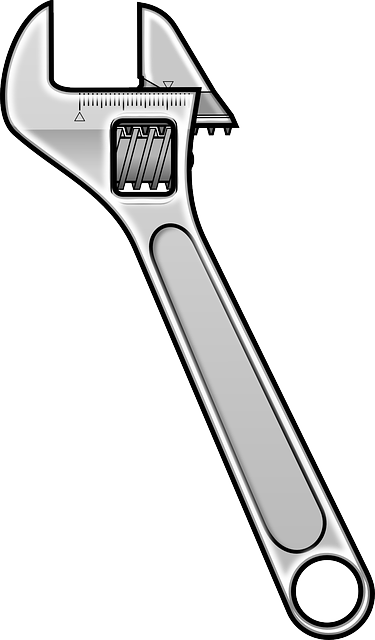
When considering a DIY quarter panel dent repair, it’s crucial to have the right tools and materials on hand. For most minor dents, you’ll only need a few basic items. Start with a good quality putty knife – this will help you apply the filler accurately and smoothly. Next, invest in a reliable dent puller or a set of pliers designed for automotive repair; these tools are essential for gently removing the damaged area and creating a smooth surface for filler application.
Don’t forget to grab some automotive body filler, often referred to as ‘putty’. It comes in various types, so choose one suitable for plastic or metal surfaces. Additionally, you’ll need sandpaper with varying grit levels (from coarse to fine) for smoothing the filler and achieving a professional finish. For better results, consider adding a dent removal gel or compound, which can help soften and pop out deeper dents. Lastly, grab some protective gear like gloves and safety glasses to shield yourself from debris during the repair process.
Step-by-Step Guide to Successful Restoration
Repairing a quarter panel dent yourself can be a viable option for dedicated DIY enthusiasts, but it requires careful planning and the right tools. Here’s a step-by-step guide to ensure a successful restoration:
1. Assess the Damage: Begin by thoroughly inspecting the dented area. Identify its size, depth, and location on the quarter panel. Different methods will be needed for various types of dents, so understanding the extent of the damage is crucial. For instance, shallow dents might only need paintless dent repair techniques, while deeper ones may require more intensive measures such as metal fabrication or replacement panels (for severe cases).
2. Gather Materials and Tools: Based on your assessment, collect all necessary tools and materials for your chosen quarter panel dent repair method. This could include a putty knife, sandpaper, a dent puller, or even a specialized dent removal tool designed for paintless repairs. For more complex jobs involving luxury vehicle repair, consider seeking professional guidance to ensure you have the right equipment.
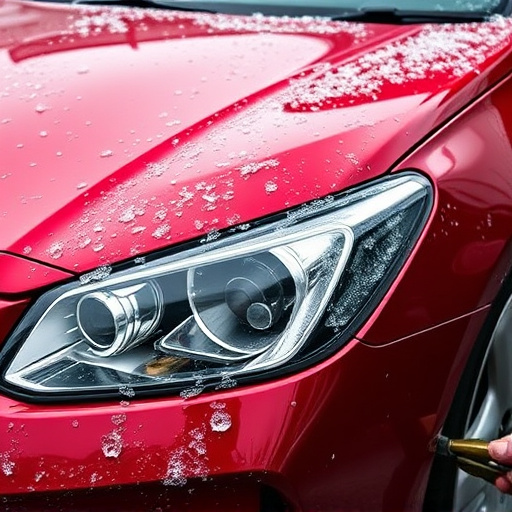
3. Prepare the Surface: Clean and degrease the area around the dent to ensure proper adhesion of any filler materials. Mask off adjacent areas with tape to prevent unintended damage during the repair process.
4. Remove the Dent: Employ your selected technique – whether it’s a gentle pull using a dent remover or precise scraping with a putty knife – to gently work out the dented area. For more stubborn dents, consider heating the panel with a hair dryer for temporary expansion, but be cautious not to overheat and risk damaging the surrounding paint or auto glass repair components.
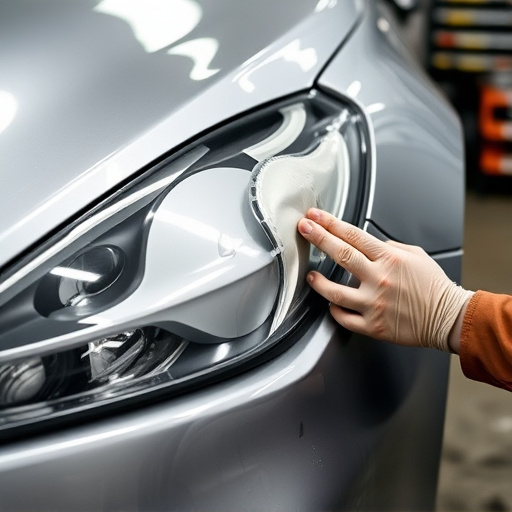
5. Smooth and Fill: After successfully removing the dent, smoothen the panel’s surface and apply any necessary fillers, allowing them to dry completely.
6. Sand and Prime: Once dry, gently sand the repaired area until it’s smooth, ensuring no imperfections remain. Then, apply a primer to prepare the surface for painting, matching it as closely as possible to the original paint job, especially when dealing with collision damage repair.
7. Paint and Finish: Finally, apply the matching paint, allowing it to dry fully before adding clear coat for protection.
When it comes to repairing a quarter panel dent, many car owners wonder if tackling the job themselves is feasible. With the right tools, materials, and knowledge from our step-by-step guide, you can successfully restore your vehicle’s exterior without breaking the bank. While DIY quarter panel dent repair is achievable for dedicated individuals, consider professional assistance if the damage is extensive or if you lack confidence in your skills. Remember, a properly repaired quarter panel enhances both the aesthetics and overall value of your vehicle.